 Hynek Oubrecht
  2026-04-16 07:32:32
  4 min reading
Mailocator allows you to create classic countdown campaigns – i.e., a countdown to the end of an offer in the form of a pop-up or bar. But what if you want the countdown to continue even after the user closes the main campaign?
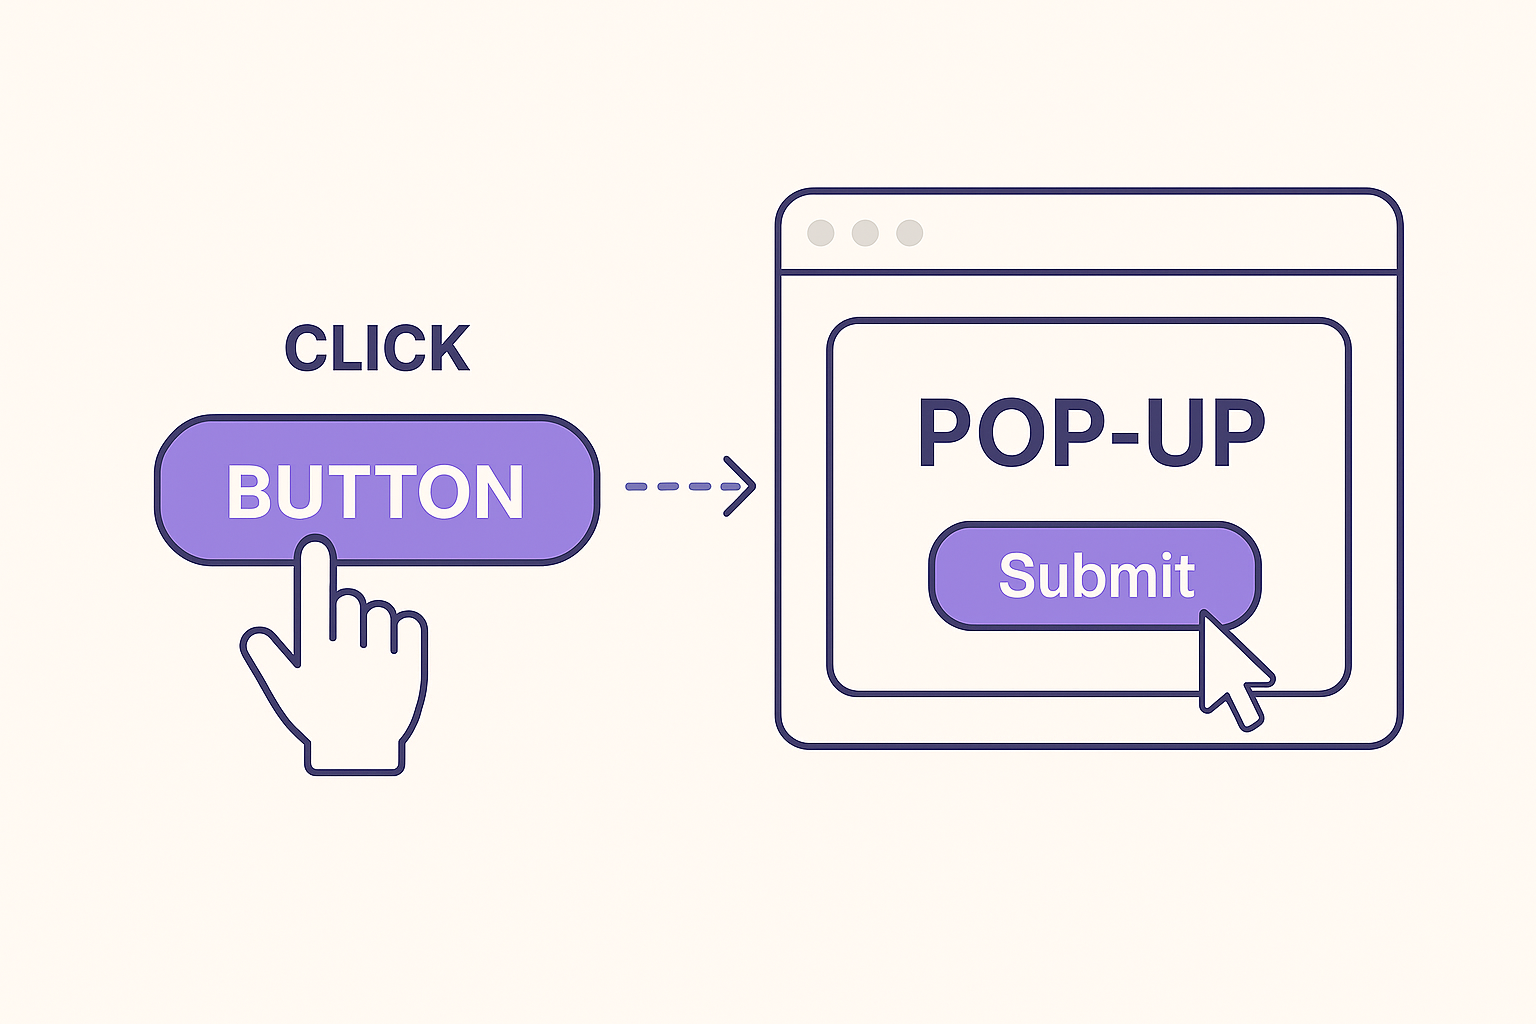
The solution is a countdown directly in the CTA.
Why add a countdown to the CTA?
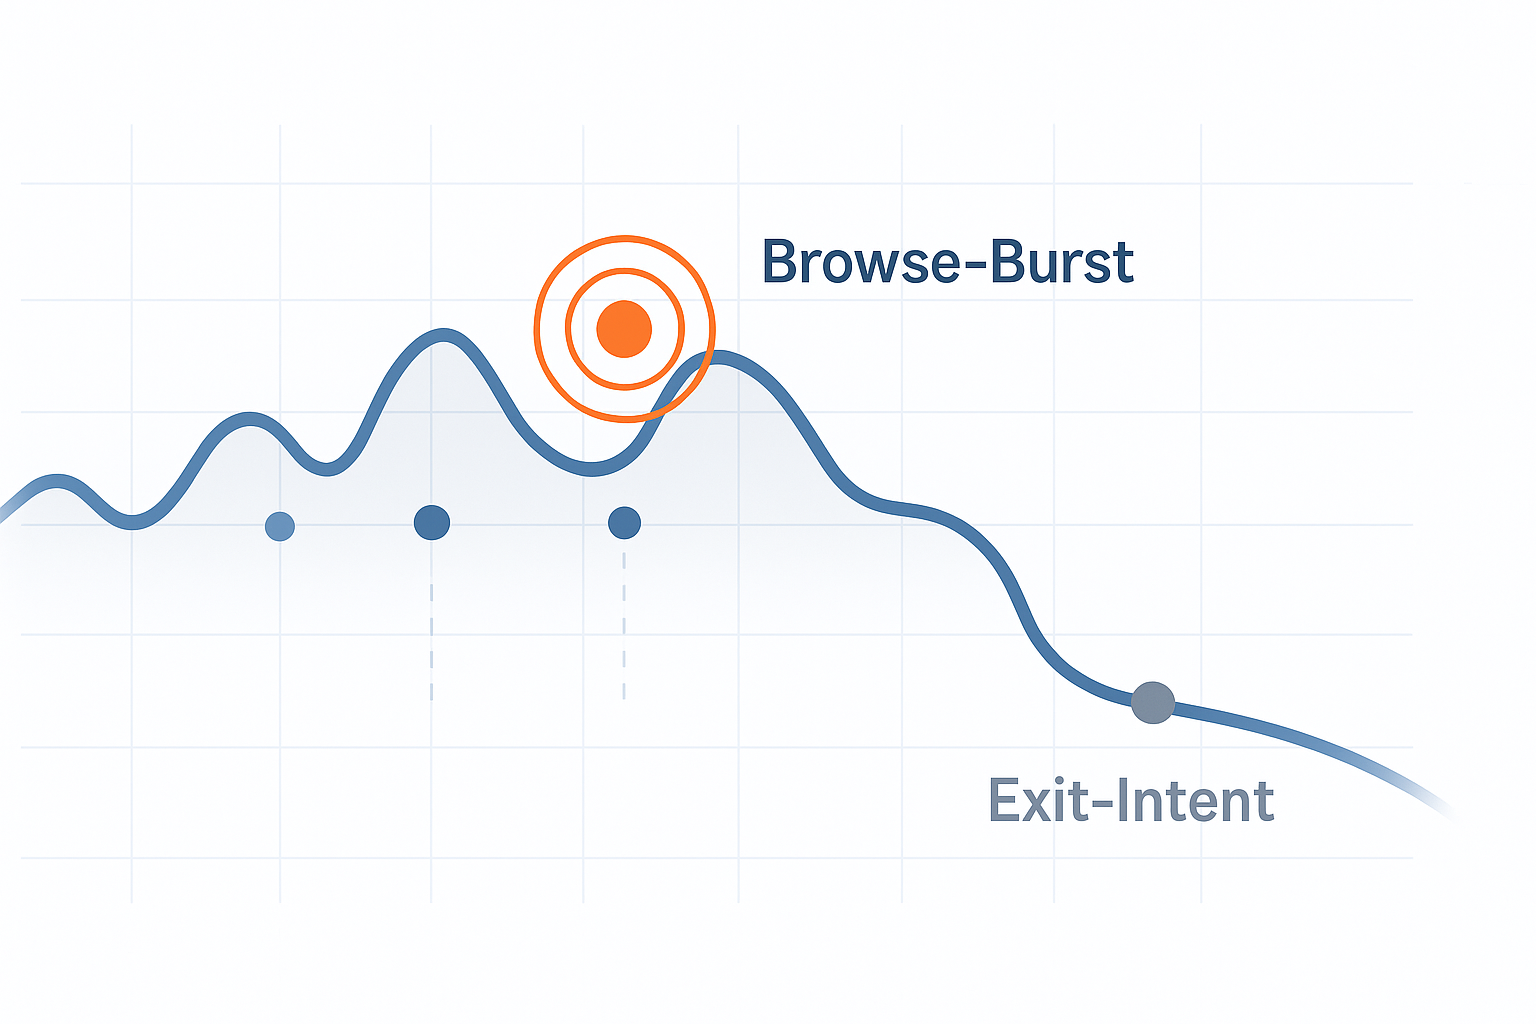
Countdowns are one of the most powerful conversion motivators. Time pressure helps users make decisions faster – and if the countdown remains visible even after the main campaign is closed, the effect is multiplied.
We know from experience that the combination of the main campaign + countdown CTA can increase campaign performance by up to 2.7 times on average. Moreover, the CTA does not have to be just a button; Mailocator does not limit you in any way – the form is purely a matter of creativity.
When does a countdown in the CTA make the most sense?
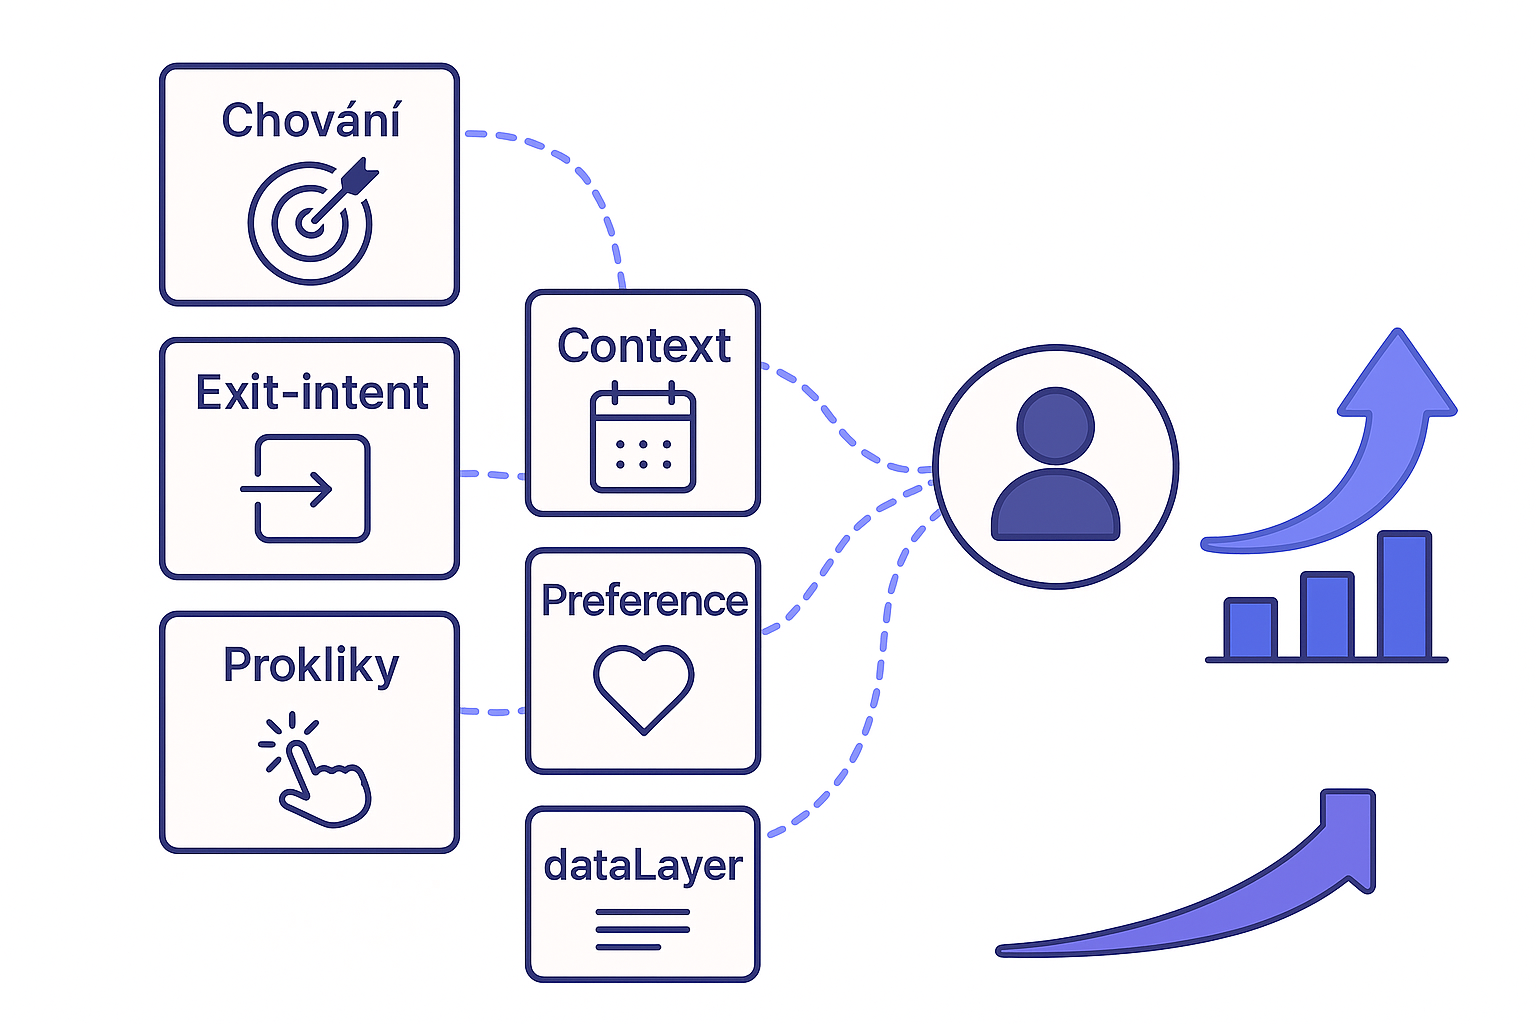
A countdown in a CTA is ideal wherever time or limited availability plays a role. Typical examples are:
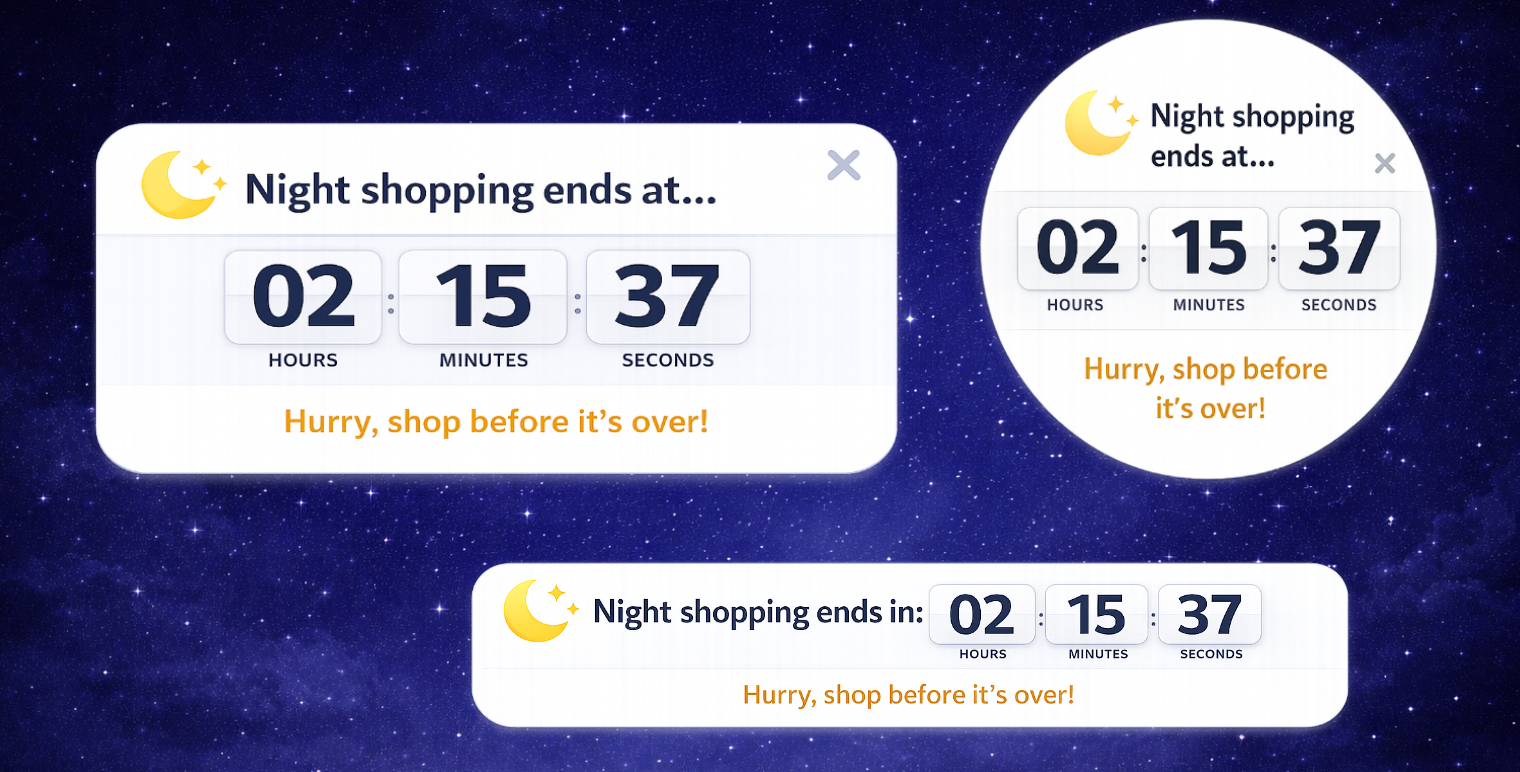
Night shopping and time-limited promotions – the user closes the pop-up, but the fixed CTA bar continues to remind them that the promotion ends at 11:59 p.m., for example.
Limited offers and editions – the countdown promotes a sense of exclusivity and limited opportunity.
Seasonal campaigns (Black Friday, Christmas, Valentine's Day) – a CTA with a countdown maintains the tension even after the main message is closed.
Flash sales and short-term discounts – time pressure is a key conversion factor here.
Registration deadlines (webinars, events, competitions) – the countdown clearly communicates how much time is left to register.
Free shipping until a certain time – for example, "Order by 2 p.m. and we'll ship today."
In all these cases, the countdown in the CTA acts as a subtle but constant reminder that keeps the offer "in sight" without disturbing the user again with a large pop-up, which the user often closes.
What can a CTA look like?
Mailocator does not limit users in any way – the countdown in the CTA can take virtually any form. It's all a matter of creativity, branding, and website context.
In practice, the most common are:
Fixed bar in the footer – always visible when scrolling, a strong but not overly distracting element.
Small notification box – square, rectangle, or circle, a discreet and compact solution.
Corner element – minimalist CTA in the lower corner, suitable for clean designs.
Countdown stuck to the edge of the screen – horizontal or vertical accent, ideal for seasonal campaigns.
How to create a countdown in CTA in Mailocator?
Option 1: The main campaign is a countdown
This is the simplest scenario.
Create a CTA as if it were a separate countdown.
Add the necessary countdown elements to the existing CTA campaign.
You can use a sample CTA template with a countdown or customize any countdown template to look like a CTA.
In the content overview, change the campaign type to CTA (context menu → Change type → CTA).
Go to campaigns and assign the new CTA to the selected campaign.
If the main campaign is a countdown, the CTA will automatically inherit its settings. The countdown continues smoothly without the need for further configuration.
Option 2: The main campaign is not a countdown type.
In this case, the countdown must be configured manually.
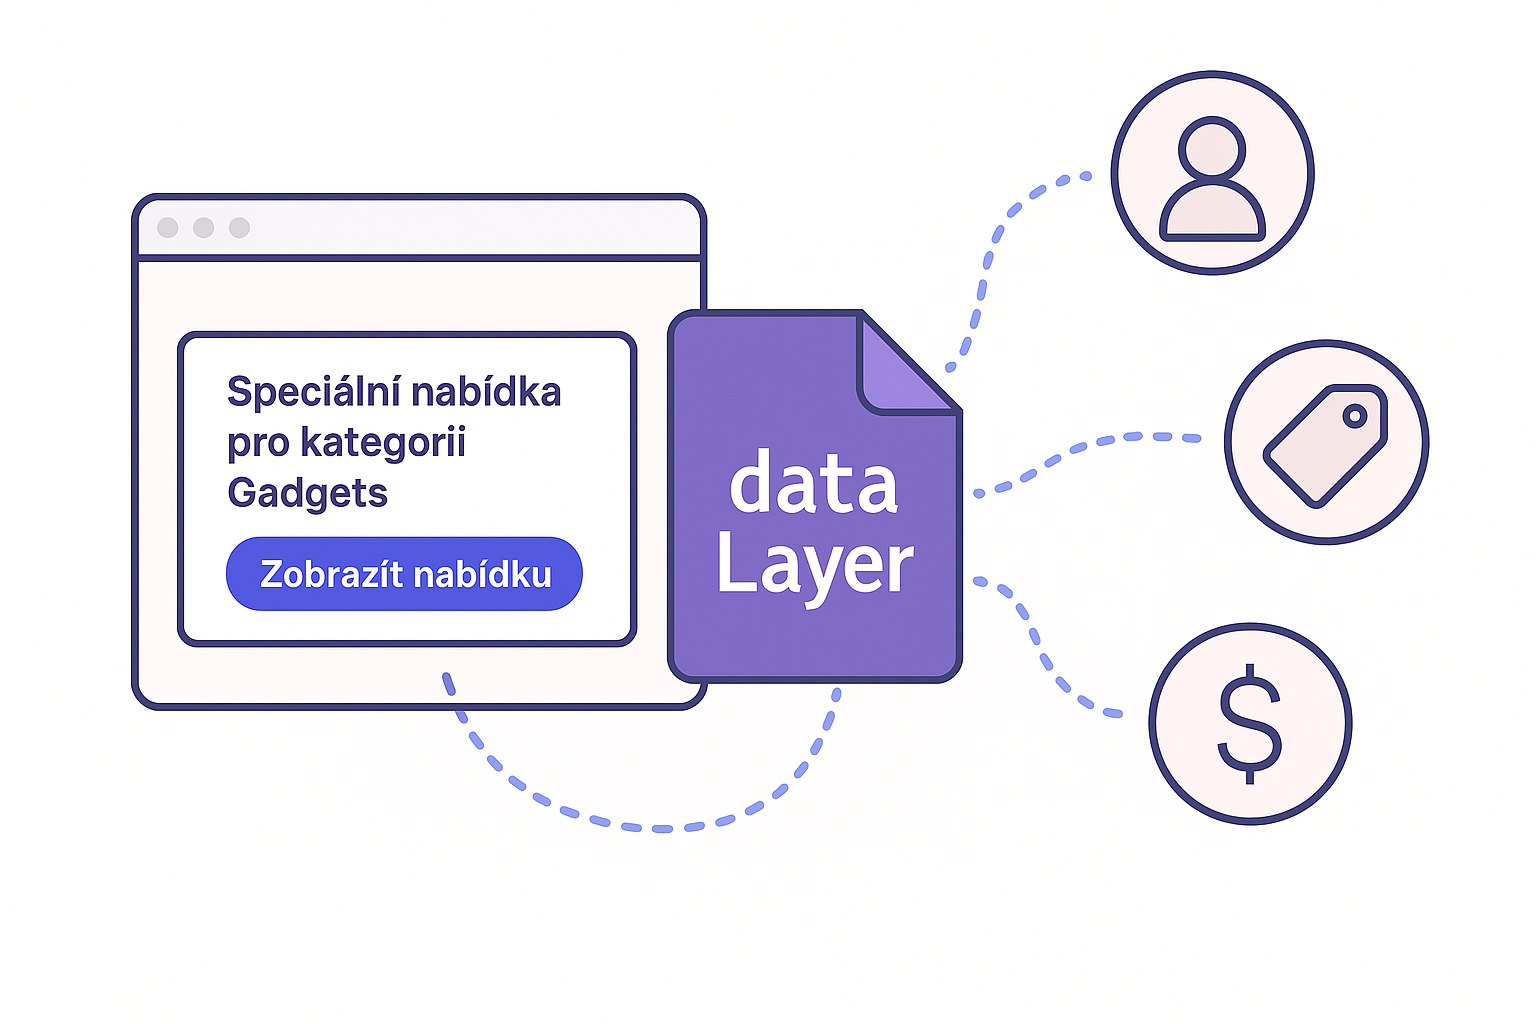
Add a configuration directive in JSON format to the CTA. It must be placed in the ML-CONFIG container.
JSON format:
{
    "data": {
        "day": "1",
        "hour": "1",
        "min": "1",
        "sec": "1",
        "Y": "2026",
        "M": "03",
        "D": "11",
        "h": "01",
        "m": "30",
        "tz": "1",
        "tzname": "Europe/Prague"
    }
}
day, hour, min, sec
Determines which parts of the countdown should be displayed (e.g., only hours, minutes, and seconds).
Y, M, D, h, m
Determines the exact end of the campaign (date and time).
tz, tzname
Determines the time zone.
Don't forget to activate the plugin
For the countdown to work properly:
Turn on the countdown plugin.
Open the CTA content in the editor.
Click on the main container.
Select After loading in the right panel.
Add the command: Countdown5.init(this);
Without this initialization, the countdown will not start.
How to convert an existing countdown to a CTA
If you have a finished countdown campaign and want to use it as a CTA:
Open the context menu in the content overview.
Select Change type.
Switch the content to CTA type.
From now on, you can assign CTAs to campaigns just like other CTA elements.